

Riverbankannie
LIFE MEMBER
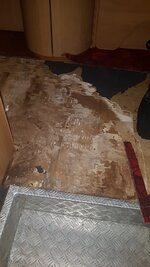
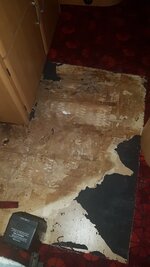
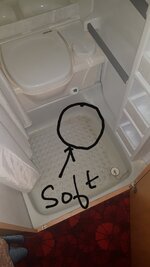
Don’t ignore that, it’s more than likely a leak somewhere.do occasionally here the water pump kicking in and wonder if this is due to a slight leak somewhere or just loss of pressure in the pipe lines after an hour or so?
")